
What Is Coral Gardening? A Step-by-Step Guide for Beginners
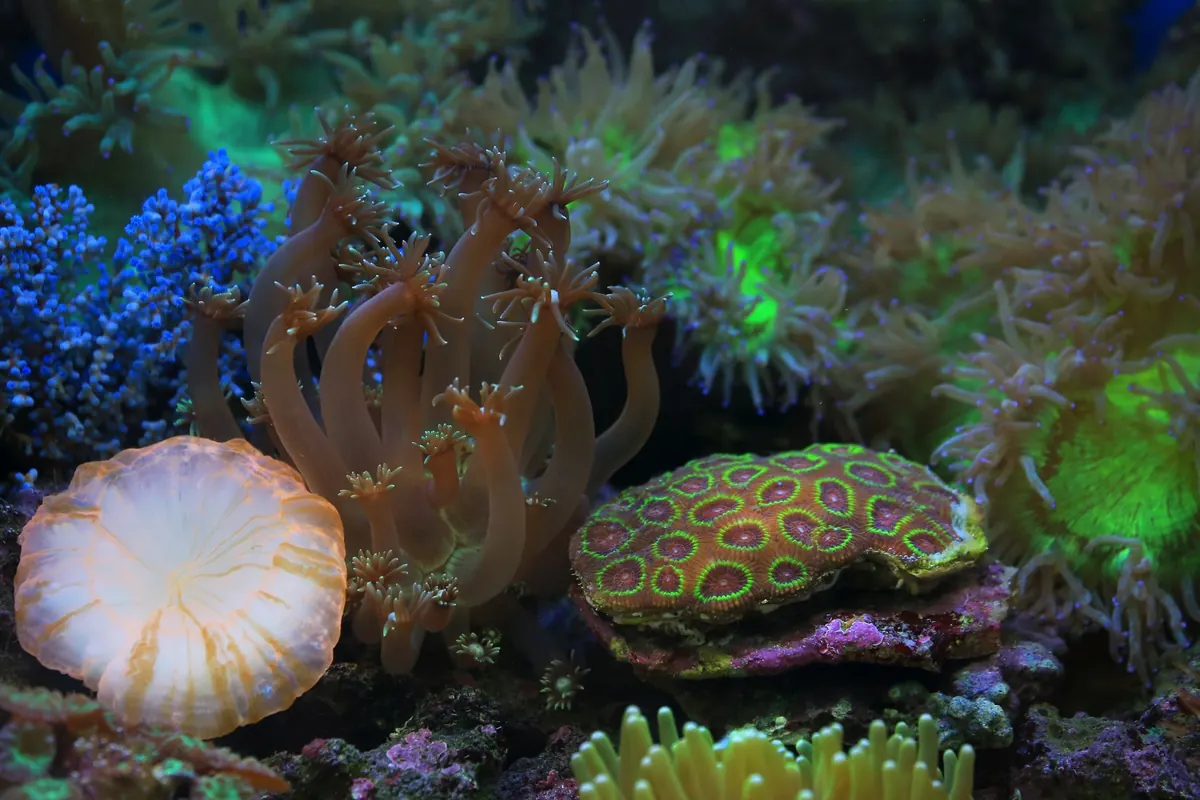
A storm passes over a shallow reef and a staghorn branch snaps off. Untouched, that fragment will tumble into sand and smother. On a growing number of reefs, a diver picks it up instead, ties it to a nursery line, and gives it a second life. That, in its simplest form, is coral gardening: cuttings, but underwater.
It is slow, physical and unglamorous work. It is also one of the most accessible routes into reef conservation for someone who wants to do more than sign a petition, whether you end up in the water or supporting the people who are.
What coral gardening actually is
Coral gardening means growing coral fragments in an underwater nursery and then transplanting — outplanting — the grown colonies onto a reef that needs them. Many corals reproduce by fragmentation in the wild: a broken branch lands in a stable spot, attaches, and grows into a new colony. Gardening copies that process deliberately, and adds a protected nursery stage so fewer fragments are lost.
It helps to separate it from three things it gets confused with. It is not the same as building an artificial reef from tyres or concrete blocks. It is not coral farming for the aquarium trade, which is a commercial activity with its own rules. And it is not the same as larval restoration, where projects collect coral spawn, raise larvae in tanks and settle them onto reef — a related but distinct technique, sometimes called coral seeding.
An honest caveat
Gardening does not fix a warming ocean. Nurseries can be wiped out by a single marine heatwave, and outplanted coral is no more heat-tolerant than the reef around it unless projects deliberately select for tougher genotypes. Restoration buys time and keeps reef structure and diversity in place. Reducing emissions and local pressures is what decides whether that time is enough.
The principles that make it work
Every decent project rests on the same handful of ideas.
- Use fragments of opportunity. Loose pieces, storm breakages and rescue fragments from damaged colonies. Breaking healthy coral simply to stock a nursery is generally the wrong approach and is tightly regulated in most places.
- Match coral to place. Fast-growing branching species such as Acropora give quick structure but are fragile. Slow, boulder-like species survive more but take years to show results.
- Keep genetic diversity wide. A nursery stocked from one genotype is a single point of failure. Many small, varied collections beat one big one.
- Fix the cause, not just the symptom. Outplanting onto a reef still plagued by sewage, sediment or overfishing rarely goes well.
- Monitor and publish. Survival rates ten or twelve months after outplanting matter far more than the number of fragments planted.
Setting up a nursery
Choosing a site
The nursery needs decent water flow, enough light for the species you are growing, shelter from the worst storm swell, and a seabed that can hold anchors. Look for somewhere close to the eventual outplanting site, reachable on a normal working day, and away from boat channels, river mouths and heavy nutrient runoff. Sand-scoured or silty sites will bury your stock.
Nursery designs
Most tropical nurseries use one of a few structures. Rope nurseries are cheap and quick, with fragments threaded or tied along a line suspended between anchors — good for branching corals and for short grow-outs. Coral trees are frames with hanging branches, which keep fragments off the seabed and make cleaning easy. Table and frame nurseries hold fragments on raised mesh or rails, useful where you want to control orientation and spacing. Mid-water or suspended designs help in deeper or warmer conditions.
Whatever the design, tension matters. Loose lines tangle and abrade coral; over-tight ones snap in surge. Floats, swivels and well-set anchors do the invisible work that keeps a nursery alive.
Collecting and attaching
Handle fragments with gloves, keep them submerged or shaded in seawater during transport, and record species, collection site, date and genotype for every piece. Attachment uses cable ties, monofilament, epoxy putty or cement depending on species and structure. Note that collecting coral requires permission almost everywhere; this is permitted, supervised work, not something to attempt independently. Do not handle fire coral or unfamiliar species bare-handed.
The growing-out routine
Nursery maintenance is where projects succeed or quietly fail. A typical schedule includes:
- Cleaning algae, sponges and tunicates from lines, frames and coral bases.
- Removing coral predators such as Drupella snails, fireworms and crown-of-thorns starfish.
- Reattaching fragments that have come loose and replacing worn ties.
- Photographing and measuring growth, and recording any bleaching, disease or mortality.
- Logging conditions — temperature, visibility, notable events — because context explains results later.
Expect something to go wrong most months. That is normal. The record you keep is what turns a hobby into useful conservation data.
Outplanting: returning coral to the reef
Timing matters. Many projects outplant in cooler months, ahead of the warmest part of the year, so colonies have time to attach and settle before heat stress arrives. Choose a site with stable substrate — dead reef framework, rock crevices, bare limestone — rather than loose rubble or shifting sand.
Methods vary with coral shape. Branching corals are often wedged into crevices or fixed to reef pins with cable ties. Massive and encrusting corals are usually glued with epoxy putty or cement, or attached using micro-fragmentation, where small chips are set close together so they fuse into a single colony faster. Space colonies so they do not shade or overgrow each other, and spread genotypes across the site.
Then comes the part that feels unrewarding: going back. Monitoring at roughly one, three and twelve months after outplanting tells you whether you achieved anything. Good projects report survival, growth and the failures too.
Supporting projects without getting it wrong
There is more coral gardening marketing than coral gardening. A few signs that a project is worth your time or money:
- It works with local communities, local authorities and the required permits.
- It publishes monitoring results, including survival figures and setbacks.
- It selects species suited to the site and considers herbivores, substrate and water quality rather than coral alone.
- It is clear that restoration complements emissions cuts and marine protection, not replaces them.
Volunteering often requires dive certification, a medical declaration, insurance and sometimes a training fee, and many projects only take volunteers with survey or aquaculture experience. Ask about supervision, safety and what past volunteers actually did. Closer to home, avoid buying coral souvenirs and wild-harvested marine species, reduce fertiliser and pesticide runoff from gardens and farms, and support marine protected areas. Around the UK, cold-water coral reefs in deeper water face different pressures and need different approaches from tropical nurseries, but UK-based marine charities and university groups still welcome help.
A sensible first step
Before you try to garden anything, learn to identify what you are looking at. A coral reef survey course, a reef check or citizen-science programme, or a few seasons of careful diving on the same reef will teach you more than any nursery week.
If you want to go further, volunteer with an established project rather than starting one, and be honest about your skills. If you never get wet, fund the work, share verified results, and push for the water quality and fishing rules that give restored coral a chance. Coral gardening works when it is patient, recorded and small-scale — and when the people doing it stay long enough to see a fragment become a colony.
Photo: Jeffry Surianto / Pexels